With the
Big Flight and the
Short Flight in place, it was time to make and fit the two sets of Winding treads which take the staircase around the two corners.
 |
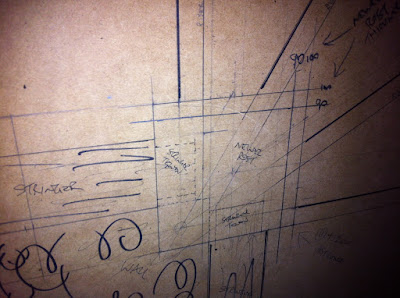
| The positions of the lower winders, as marked on the full scale drawing. |
 |
| The positions of the upper winders, as marked on the full scale drawing. |
Chopping the housings for the treads and riser boards on the appropriate angles and positions was a tricky job, which I had done before assembling the posts in the Short Flight.
 |
| The nosings and riser board behind were fitted, then the next pair below. |
Nosings with floorboards behind were to be used rather than full solid treads, as the widest tread would be 550mm (22") at the widest point - much too wide due to potential movement. So nosings were made with a rebate at the back to take the floorboards to be used to complete the triangular treads. This would be a more stable construction methodology.
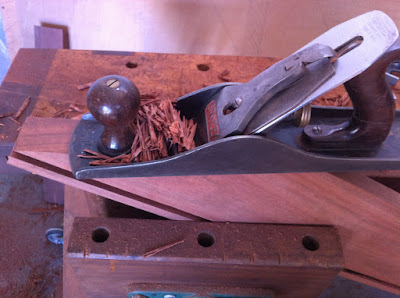 |
| Using my trusty No. 5 1/2 jack plane to clean up and fit the angled rear faces of the nosings where they meet the riser boards behind. |
 |
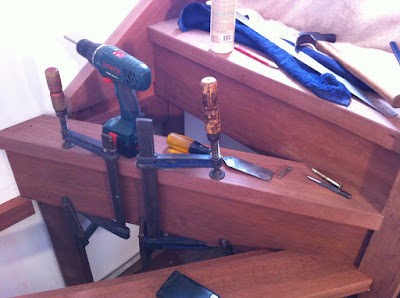
| The support structure goes in for the lower winders. I did a lot of time under there! Ow, my back! |
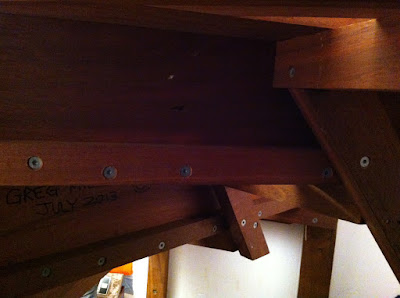 |
| The angled props taking shape under the lower winders. |
 |
| The lower winders emerging from the lower newel post. Lookin' good! |
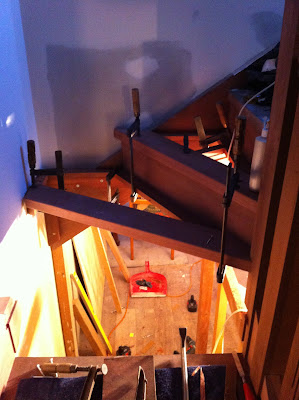 |
| The top Winders being fitted. They'll link the Big Flight to the Short Flight. |
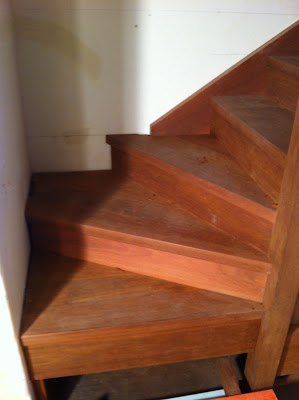 |
| The bottom winders, with floorboards behind the nosings fitted and fixed. |
It was great to get the two sets of Winders installed. They still need the trim fitted around the wall... and the handrail... and Treads 1 & 2.
At last, the staircase is usable - even though Treads 1&2 are yet to be made. That's the next challenge!
While a lot of work, I find building staircases is very satisfying indeed...
OK, time to contemplate the bottom two treads...
.jpg)